What Causes a Water Heater to Drip Water?
Before we get into the nitty-gritty of fixing the problem, it’s important to understand why water heaters drip water in the first place. Here are some common culprits:
Faulty Temperature and Pressure (T&P) Relief Valve
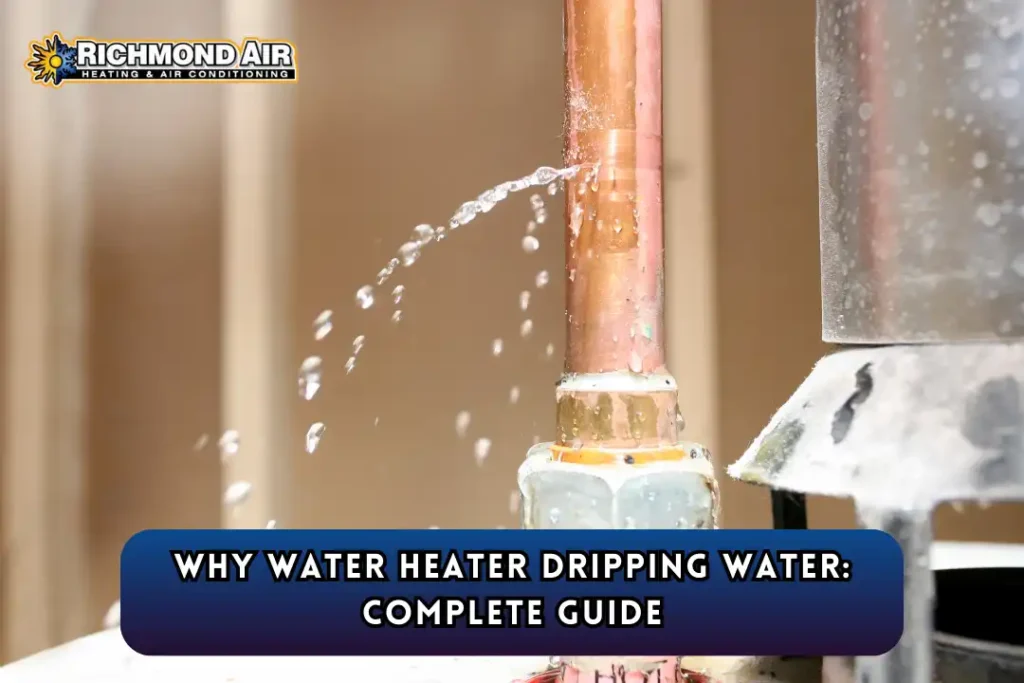
The T&P relief valve is a safety feature designed to release excess pressure from your water heater. If the valve is faulty or if the pressure inside the tank gets too high, it can cause water to leak.
Loose or Damaged Drain Valve
The drain valve, located at the bottom of the tank, is used to flush out sediment. Over time, this valve can become loose or damaged, leading to leaks.
Corrosion or Cracks in the Tank
If your water heater is old, corrosion can eat away at the tank, causing cracks and leaks. Unfortunately, this is often a sign that it’s time for a replacement.
High Water Pressure
Excessive water pressure in your home’s plumbing system can force water out of the heater’s relief valve.
Condensation
Sometimes, what looks like a leak is actually just condensation forming on the outside of the tank. This is more common in humid environments or when the water heater is working overtime.
How I Fixed My Dripping Water Heater

When I first noticed my water heater dripping water, I’ll admit, I panicked a little. Was this going to cost me a fortune? Would I need to replace the entire unit? After a deep breath (and a quick Google search), I realized that not all leaks are catastrophic. Here’s how I tackled the problem step by step:
Step 1: Turn Off the Power and Water Supply
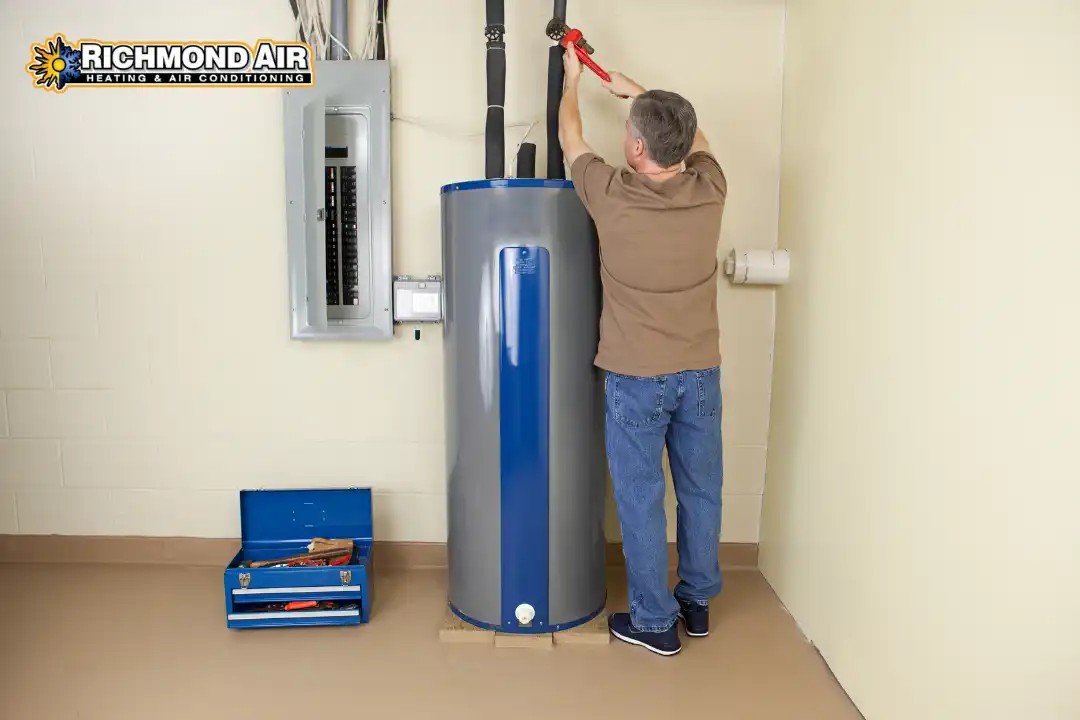
Safety first! I turned off the power to the water heater (it was electric, so I flipped the breaker) and shut off the cold water supply valve. If you have a gas water heater, make sure to turn off the gas supply as well.
Step 2: Inspect the T&P Relief Valve
Using a flashlight, I checked the T&P relief valve for any signs of dripping. Sure enough, there was a slow but steady leak. I tightened the valve slightly with a wrench, but the dripping didn’t stop. That’s when I knew the valve needed to be replaced.
Step 3: Replace the T&P Relief Valve
Replacing the valve was surprisingly straightforward. I drained a few gallons of water from the tank to reduce pressure, unscrewed the old valve, and installed a new one (purchased from my local hardware store). Pro tip: Use plumber’s tape on the threads to ensure a tight seal.
Step 4: Check the Drain Valve
While I was at it, I inspected the drain valve at the bottom of the tank. It was slightly loose, so I tightened it with a wrench. If your drain valve is damaged, you may need to replace it entirely.
Step 5: Monitor for Further Leaks
After turning the water and power back on, I kept a close eye on the water heater for the next 24 hours. Thankfully, the dripping had stopped, and my hot water was back in action. Crisis averted!
When to Call a Professional
While some water heater issues can be fixed with a little DIY effort, there are times when it’s best to call in a professional. Here are a few red flags to watch out for:
- Severe corrosion or rust on the tank
- Persistent leaks even after replacing valves
- Strange noises, like popping or banging, coming from the heater ● A complete lack of hot water
If you’re unsure about the severity of the problem, don’t hesitate to consult a licensed plumber. Trust me, it’s better to be safe than sorry.
Fun Fact: Did You Know?
According to the US Department of Energy, “Water heating accounts for about 18% of your home’s energy use and is typically the second largest energy expense in any home”.
Regular maintenance, like flushing the tank and checking for leaks, can improve efficiency and save you money on energy bills.
Contact a Trustworthy Professional
If your water heater is dripping water, don’t wait for the problem to get worse. Take action today! Start by inspecting the valves and connections, and if you’re unsure about the cause, reach out to Richmond Air for help. Regular maintenance can also prevent future leaks and extend the life of your water heater. So take the wise decision today and then spend your life taking long, warm, relaxing showers whenever you please.
Final Thoughts
A dripping water heater might seem like a small inconvenience, but it’s often an early warning sign of a more serious issue. If it’s caused by a faulty valve, excessive pressure, or an ageing tank, addressing the problem quickly can save you from expensive repairs, or, worse, a complete system failure (and those dreaded cold showers).
Speaking from personal experience, fixing a water heater doesn’t have to be overwhelming. With the right tools, a bit of patience, and a clear plan, many minor leaks can be resolved without professional help. However, if the issue persists or seems too complex to handle, it’s always wise to call a licensed professional. Trust me, the cost of expert assistance is a small price to pay for the peace of mind that comes with knowing the job is done safely and correctly.
FAQs About Water Heater Drips
Why is my water heater dripping water from the bottom?
A leak at the bottom of the water heater could be due to a loose drain valve, a cracked tank, or condensation. Inspect the area to determine the source of the leak.
Can I still use my water heater if it’s dripping?
It’s not recommended. A dripping water heater could indicate a serious issue, and using it could lead to further damage or even safety hazards.
How often should I replace my water heater?
Most water heaters last 8-12 years. If yours is older and leaking, it might be time for a replacement.
What’s the cost of fixing a leaking water heater?
The cost depends on the issue. Replacing a valve might cost $20-$50, while a full replacement could run $500-$1,500 or more.
Can high water pressure cause my water heater to leak?
Yes, excessive water pressure can force water out of the T&P relief valve. Installing a pressure-reducing valve can help.


